Sunday, May 25, 2014

Cookies with Sweetambs!

Where has the time gone?  Oh, I know...to the kids and the cookies.  Yup, it's been a bit hectic.  I've learned a bunch of new things, including just how many cookies I can handle per week.  That was NOT a fun lesson, but a lesson well learned.  So, I'm going back in time to April so I can discuss the amazing class I took with Amber from Sweetambs !!

I've always loved drooling over Amber's cookie designs, so when I came across her post about teaching a weekend class at Mother of Cakes, in PA...I had to do it.  And it was a win-win situation, since my in-laws live 20 minutes from there and could help watch the Peas for me! 

The Mother of Cakes Academy was a really nice space to work in, and the staff were wonderful!  It was such a refreshing feeling to be in room with 17 other people that love cookie decorating as much as you!  Amber was her usual amazing self.  Over the 2 day course, she taught us about her cookie and icing recipes (yum!!!), as well as border, quilting and filigree techniques.  Here are some photos that I took throughout the 2-day class (I am NOT a camera phone genius, so these photos aren't the best quality!)...

Amber prepping before class


Flooding 101
 
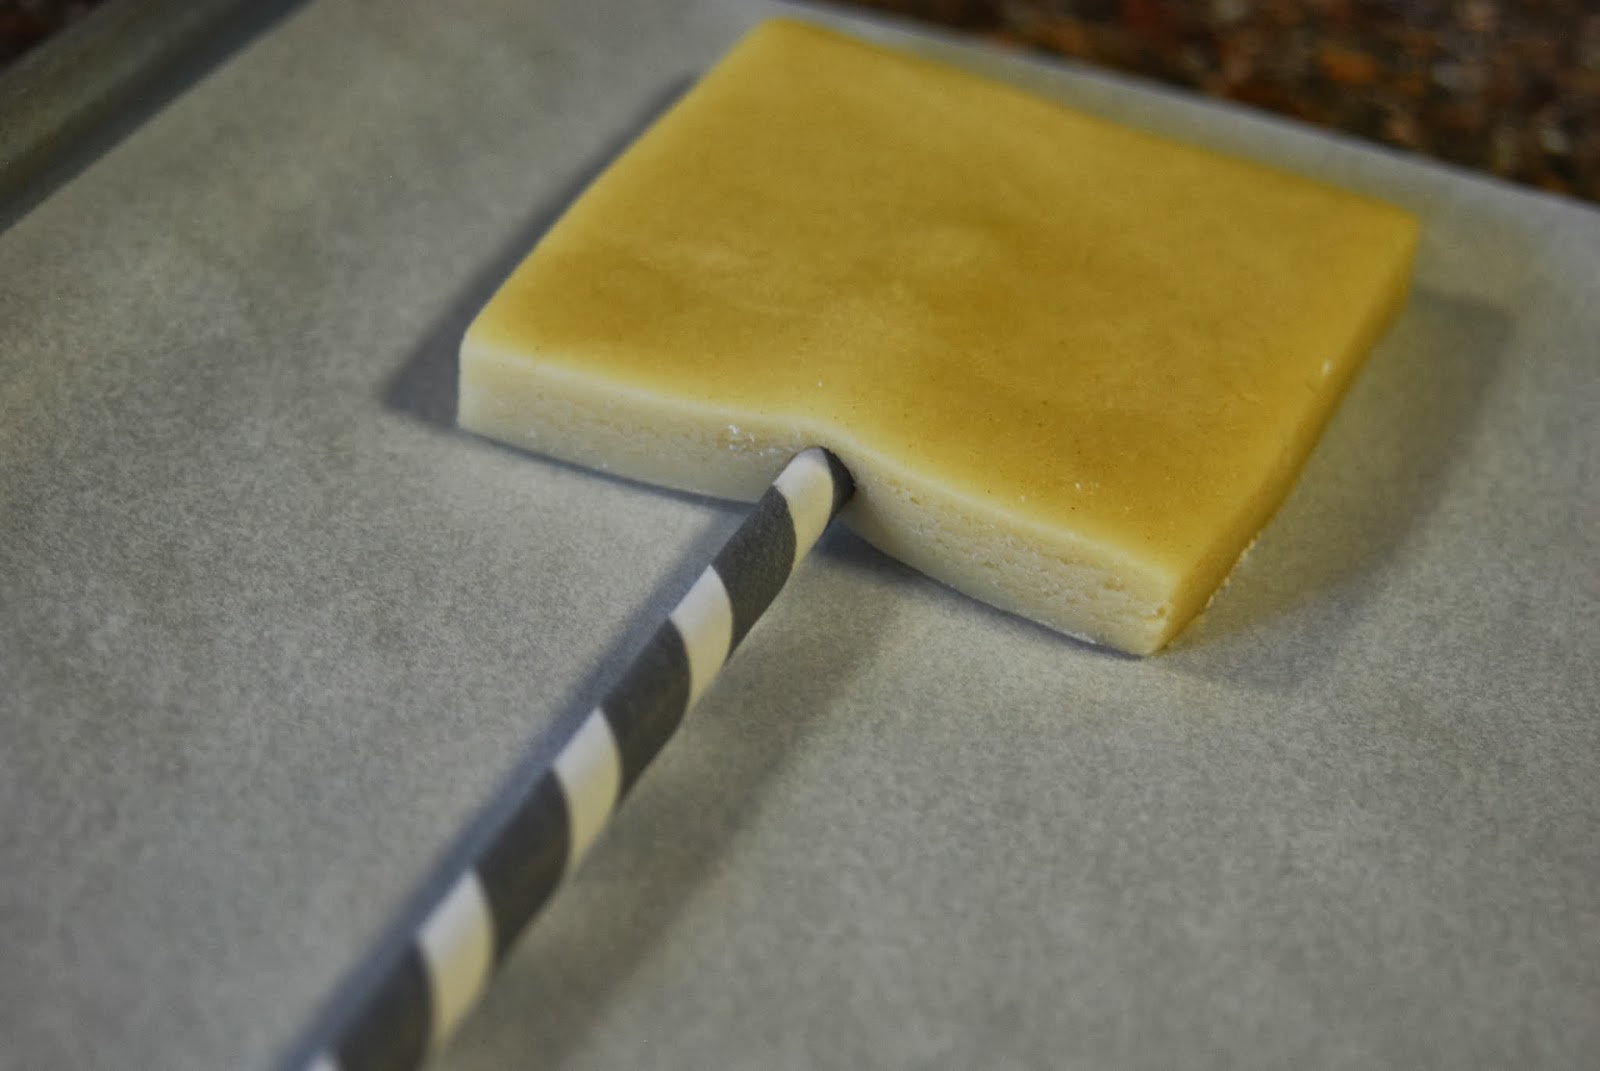
Working on quilting and royal icing transfers
 
End of Day 1 (wet-on-wet techniques, quilting, and filigree (my nemesis)!
 
Day 2...filled with "detailing" (brush embroidering, basket weave, etc)
 
The final products!!
 
 
Thank you Amber!  I had an awesome time!! 
 
Amber recently opened up her own studio on Beacon, NY.  If you're interested in taking a class, check out her page .  Maybe I'll see you there!


Tuesday, April 1, 2014

The good, the bad and the crunchy

In a perfect world, beautiful designs would just pour out of my squeeze bottles onto my cookies...all the time.  In reality, I mess up...a lot.  That's why I make a couple of extra cookies with each order.  I almost always mess up at least one cookie.  I never post about it because the end result seems to turn out nice, and no one knows about the few "oops" cookies! 

Well, I have to post about a big order "oops" that happened recently.  One of my good friends (and really, if I had to mess up, I'm glad it was for a friend so we can both laugh about it now) placed an order for Cub Scouts cookies.  She really liked the Chocolate Chip Roll-Out Cookies I did back in December, so she asked if I could make them instead of my normal vanilla sugar cookies.  Sure, no problem. 

I also took this time to try out my new airbrush machine.  My friend needed some filler cookies to go along with the Cub Scout logo cookies, so I had an idea in my head that I wanted to try...and she's my friend, so I wanted to make them super cool with my awesome airbrush machine that I have never tried.  I probably should have gotten a few airbrushed cookies under my belt before I did this...but I digress...

The Cub Scout logo was pretty difficult.  I just couldn't seem to have a vision of how the layers of icing should work.  And for some reason, the blue airbrush coloring didn't dry as evenly as the gold did.  So, for my perfectionist self, they didn't live up to my standards...I was not happy.  Okay (holding my breath)...here they are:

 
I love my friend.  She still said they were awesome, even though I KNOW she's seen better from me.  I felt a little better, until...
 
I got a text from her that the cookies were a bit "hard".  Well, "a bit" is an understatement.  I don't know what happened.  The cookies tasted fine without the icing, but sometime after I iced them they made a turn for the worse.  She was already at the Cub Scout event,  where all of the parents and kids had an opportunity to try the cookies.  I was so upset!  She told me that one kid went over to his mom with a tiger cookie and said, "Look how cool!!  You can eat it, but be careful not to break a tooth"!
 
Ugh.  Epic fail.  Well, at least we can laugh about it now.  And the chocolate chip cookies are out until I can figure out what happened!!

Sunday, March 30, 2014

My New Buddy

This is my new buddy:

Mr. Dehydrator
 
I recently came across the subject of dehydrators on one of my favorite blogs (LilaLoa).  Wait.  How did I miss this important piece of information?!  It's supposed to keep the cookies a bit shinier, dry them faster AND prevent cratering?  Buddy, where have you been for the past 2 years!
 
After researching the different brands and sizes, I decided on the L'Equip 528 Dehydrator.  It has 6 rectangular trays and it seemed to be easy to work with.  It definitely didn't disappoint.  All I have to do is plug it in, set it to the lowest setting (95 degrees) and turn it on.  Easy Peasy.
 
Here's my buddy in action:
 
 
I really should have taken photos of the same cookie air-dried vs. using the dehydrator...good thing Bake at 350 did it!  There is definitely a difference with the amount of shine.  Now, I didn't leave my cookies in for more than 20 minutes per layer, so maybe I could have achieved a shinier cookie...but I was very afraid of them drying out.  After a taste-test, I was able to rule that out too.  Not dry.  Still yummy!
 
My buddy also helped me save A LOT of time decorating!!  Let's use my fun spring cookies (with character designs by Dorky Prints)...
 
 
Without my Buddy, my first step would be to "base" the cookies (flood the cookie with a solid color of icing to create a "base" for my design).  This would usually need to sit overnight, or at LEAST a few hours to allow the icing to set and harden.  Usually I'd do this at night, then in the morning start the next layer, which would be the start of the design.  For the sheep, I'd do the white first, let that dry for another hour before putting the gray on top.  Then I'd wait again to start the watering can, which needs to dry about 15-20 minutes between each piece, so the icing wouldn't run together and create a "glob" of a watering can.  See how all of this adds up?
 
These cookies were done with my new Buddy.  I based the cookies and popped them in my Buddy as I completed them, then I would start taking them out after 20 minutes.  Now, they wouldn't be completely dry all the way through...
 
 
If I pushed down on the icing, I would get an indentation, like the picture above.  BUT, the cookies were dry to the touch, which is all I needed to begin my design on top!  And so begins the assembly line...add a layer, put it in the dehydrator, and by the time the tray is filled, I can start taking out the first cookie and add another layer on top!  MUCH faster!!
 
Normally, when I'm working with small spaces, I get something called cratering (holes in my icing)...you can read about it on Sweetopia's blog.  It's very frustrating and I could never figure out how to prevent it.  My Buddy to the rescue!  I worked on 3 different orders using the dehydrator and NONE of them had craters!!
 
Look Mom, no craters...


My Buddy has been an excellent addition to the cookie family!


Sunday, February 23, 2014

Cookie Canvas

As I travel on this cookie journey, I love learning new techniques and designs to beautify cookies...and make them fun.  I came across a fun technique from Montreal Confections a few months ago...Painting your own cookies!

The cookie design becomes like a page out of a coloring book, with a coordinating color palette.  Kids (or adults) can then add a little water to a paint brush and paint in the lines.  Brilliant!

I thought this would be perfect for kid projects, birthday parties, or even holidays.  I'd like to introduce my first sets of "Cookie Canvases"...


Farm Animals Theme (animals created from Dorky Prints)


Fun Foods Theme (designs created by Drawn With Character)
 
Each package comes with three cookie designs, one color palette and a paint brush.  I am also looking into creating individual Cookie Canvases, which will have the color palette on each cookie (kind of like the Montreal Confections video link from above).
 
And I couldn't add this to my product line until I tried it!
 
 
I just introduced these Canvases a couple of weeks ago, and have already made over a dozen of them!  Some were for a Valentine's treat, while the others were for a birthday party favor!  Here is one of the recipients of the birthday party favor...


These cookies have been a lot of fun to make and fun to find designs to use.  The designs need to be fairly simple to re-create, since they will be colored in.  So far, I'm in love with Dorky Prints and Drawn with Character...their clip art is perfect!!
 
I'd love to hear what you think!


Wednesday, February 19, 2014

Valentine's Day

Happy Belated Valentine's Day!  I think that if I add "belated" before everything, it would sum up my life right now.  All of this snow is not helping!  Between the Peas being sick and all of these snow days / delayed openings, a girl can go out of her mind!  This photo about sums it up...

The Pea on the left is clearly upset because he couldn't find matching flip flops to wear.  In winter.
And Baby Pea has just pooped through her outfit, that had been on her body for all of 5 minutes.  I shoved burp cloths behind her to avoid a mess on the couch.  Yup. 
 
Somehow I managed to get some Valentine's Day cookies done!  I created little mini hearts for the neighbors and teachers...
 
 
Luckily, my Preschool Pea's Valentine's party was postponed due to snow, so I was able to get these little Valentines done just in time...


I found these cuties as a digital clip art set from Dorky Prints.  Love them!!

Tuesday, February 18, 2014

Quartermania Cookies

The first Quartermania was a success!  This event was a fundraiser for the Bristol Lions Softball team.  I created 4 auction baskets, one of which I forgot to take a photo of!  I had created cookie pops of the Lady Lions logo.  They turned out really cute, but I guess I had too many late nights decorating cookies, which resulted in memory loss.  Ahhh well, at least I took photos of the other items!

The first item was my "Six More Weeks" platter...

Cardinals, Snowy Bird Houses and Holly Leaves
(bird house cookies inspired by Haniela's)
 
The second item was the "Peacock Platter"...
 
(Awesome tutorial by Montreal Confections )
And I was able to try out my new airbrush!!
 
The third item was my "Henna-Inspired Valentine's Box"...
 
 
And of course, my fourth item was the Cookie Pop display.  No photo.  Oye...I won't make that mistake again!
 
We also had a table, where we could give out our info and sell other items.  My Cookie Canvases went over really well...more on those in a future blog entry!  I also created these "Mini" Peacocks for sale.  I loved the platter so much that I had to make a smaller version!!
 
 
Unfortunately, the next two Quartermanias were canceled.  BUT, I just signed up for a new one at the end of March!  More details to come!


Thursday, January 23, 2014

Upcoming Events

Apparently, I don't know how to "ease" back into my business, as I have taken on three events next month!  They are all Quartermanias, which are a lot of fun to vendor at.  I have tried marking up a calendar, alternating between baking and sewing...we'll see if I can follow it.

Below is the information about what a Quartermania is, as well as the dates.  Please let me know if you'd like to come and I will get tickets for you!  I will be introducing a couple of new items, and I will blog more about each event after it happens.  Contact me for the addresses and tickets!

QUARTERMANIA DATES:
 
Sunday, February 9th   Bristol, PA  (fundraising for the school softball team)
 
Friday, February 21st   Hamilton, NJ  (fundraising for Crockett Middle School)
 
Saturday, March 1st  New Egypt, NJ  (fundraising for Mid-Atlantic Bulldog Rescue)

What is a Quartermania Paddle Fundraiser? It's a cross between an auction and a home show! Local direct sales vendors, as well as local businesses will be auctioning off new items for only 1-4 quarters per bid! You can win items retailing up to $100 for mere quarters! If you like Bingo or Tricky Trays you will love QUARTERMANIA!

Tickets can be purchased in advance only for $5 each - you will receive 2 game paddles
Additional Paddles may be purchased...
for $2.00 each
MUST BE 21 TO ATTEND.
50/50
***Don't Forget to Bring Your Quarters!!!!***

How It Works:
- Each item up for bid will be displayed for all guests to see.
- There will be a brief description, retail value and how many quarters you will need to bid. Guests that want to play will give their bid (quarters) and hold up their numbered paddle.
- When all bids are collected, the auctioneer will draw a numbered ball from the container. If the number on your paddle matches the number on the ball drawn, you've won that item! If a matching numbered paddle is not held up, the auctioneer will draw again, until we have a winner.
- Once we have a winner all balls will be placed back in the container and go to the next item to be auctioned.

Monday, January 20, 2014

Bullie Love

As I had mentioned in an earlier post, our Bullie (my little inspiration for my logo and business name) passed away in October.  She had an aggressive form of cancer called Hemangiosarcoma of the Spleen.  Thankfully, back in September I had listened to my Mommy intuition and taken her to the vet because she just seemed "off".  The vet did an x-ray and found blood in her abdomen and a tumor on her spleen, so they did emergency surgery.  We were all quite surprised when the tumor came back malignant.  Because it was an aggressive cancer and she was already stage 3, chemo wasn't really a smart option.  The vet oncologist gave her anywhere from a couple of days to a couple of months to live.  Really horrible news...especially since I was due to have my 4th Pea in a couple of weeks!

Long story short, Ozzie lived almost two months longer.  We were so happy to have that time with her, and I was relieved she waited for me to get home from the hospital.  And we were able to capture this...


We had our friend, and awesome photographer, Jen Davis, come over for a photo shoot so we could create our Christmas card early.

Our Vet and Vet techs were amazing through this whole situation....really, they've been amazing ever since we stepped foot (and paw) into the office!  So kind and caring...and Ozzie LOVED going to the Vet (what dog likes going to the Vet??!).  I can not say enough positive things about Foxmoor Animal Hospital

About a month a month ago, I received a letter in the mail from APAW (a local animal placement agency).  The told me that Dr. Fjerstad had made a contribution to the agency, in memory of our Bullie.  Well, that just started the waterworks again!  I was so touched that I had to do more than just a thank you note to them.  I expressed my thanks through cookies...


We are hoping to add another Bullie to our family sometime this year.  We'll see you soon Dr. Fjerstad!

Thursday, January 16, 2014

Gingerbread Roll-Out Cookies

WARNING:  These cookies are SUPER-addicting. 

I wanted one other recipe to experiment with, and I came across Sugarbelle's Gingerbread cookie recipe.  Just by looking at it, I knew it would be a bit more time-consuming than the other roll-outs I had tried.  More ingredients and a longer chill time...BUT, for the love of gingerbread, I thought I'd give it a try.


It may take longer to make these babies, but there is more dough per batch!  I ended up using almost 6 cups of flour, vs. the 3 cups I use for one batch of sugar cookies.  I ended up making gingerbread men and women, as well as ornament shapes (of course, I forgot to take photos of those!).  I agree with Sugarbelle when she says that minimal royal icing decorating is best...keeps the gingerbread flavor dominant.  With the ornaments, I did a simple lace pattern.

As with the other flavored cookies, timing is key...especially for these guys.  My first two trays looked done, but when they started to cool, they caved and turned a dark brown.  Definitely undercooked.  I let my second set stay in until the edges "just" turned a little brown, and it was overcooked (I didn't mind because I like crunchy gingerbread).  I finally got it right with the third set...and they were so popular, I was asked to make another batch of them!

I don't know if I'll be able to wait until next Christmas to make these...

Monday, January 13, 2014

Chocolate Roll-Out Cookies

My next experiment was with Chocolate roll-out cookies.  I decided to try Lila Loa's recipe because of all the great reviews (and she's another one of my favorite bloggers).  They were awesome!!!


The recipe was simple and I could roll them out right away!  No need to chill (although it is an option).  I kept it simple and did circle cut-outs with this dough, but it has the same consistency as the sugar cookies, so you could use any cookie cutter. 

They were soooo tasty!  The only thing I had trouble with was timing.  Because the cookies are dark, it's hard to tell when they're done.  I lucked out on this batch because they came out perfect!  I have a feeling I'll be making a lot more of these!!


Saturday, January 11, 2014

Chocolate Chip Roll-Out Cookies

After experimenting with those fun Cookie Pops, I decided to experiment with different cookie flavors.  I needed to find some recipes that would be fairly easy to prepare without too many different ingredients (my four Peas don't let me linger too long in the kitchen these days). 

I started out by visiting one of my favorite bloggers, Sweet Sugarbelle, to see if she had any recipe ideas.  I was really excited to see a few fun flavors!  The question would be, are they easy and quick to prepare??

The first flavor I tried...Chocolate Chip:


These were good!!  The dough was fairly quick to whip up, but the "chill for 30 minutes" threw me off a bit.  I'm used to rolling out and stamping my dough immediately.  I also think this dough will work best with medium shape cutters that don't have small angles...for example, I would probably stick with basic shapes (circle, square, oval, etc), instead of intricate cutters (some animals, leaves, etc).  This is because of the chocolate chips.  You need to press the cutters down pretty hard to cut through the dough, and small areas will probably break off easily from the chocolate chips.  Also, I will cook them for a bit longer next time...they were just shy of being undercooked, and I think another minute or two would have helped.  I will definitely be making these again!!!

Wednesday, January 8, 2014

Cookie Pops

From the beginning, I always told myself that I would never try cookie pops.  I was terrified of them!  How would the sticks be strong enough to hold up an icing covered cookie?!  When I saw Sweet Sugarbelle's post about making cookie pops, she made it look so easy that I went against my fears.


Sugarbelle suggested making the cookie a bit thicker, which I did.  My cookies are normally 1/4" thick, but for these made them 3/8" thick.  I was lazy, and really didn't feel like going to the craft store to hunt for the cute swirly sticks...but then I remembered that I had a bunch left over from my oldest Pea's birthday party a couple of years ago!  I found them and shoved those suckers in the unbaked cookies (about half way).
 
They came out of the oven perfectly...the stick didn't show on the back and nothing happened to the stick (I was a little nervous about putting the stick in the oven).  I let them cool and sit for 8 hours before I even touched them!
 
I decorated them and followed Sugarbelle's last step, which was inserting one of those white lollipop sticks (I used them when I made chocolate lollipops) into the decorative swirly stick and adding a bead of white icing at the bottom to prevent it from slipping out.  Worked like a charm!


I was really surprised how sturdy they turned out.  I think I've finally gotten over my fears of making the pops...now my next concern is presentation.  What are some ways these cookie pops can be displayed?  I would love to hear your ideas!!

Monday, January 6, 2014

Happy 2014!

Happy New Year everyone!  Boy, what a roller coaster 2013 was.  In one month I went from "Three Peas and a Dog", to "Four Peas and no Dog"...  In October, we were blessed with our fourth "Pea"...


and were devastated by the passing of our Bullie...


Our Bulldog, Ozzie, was diagnosed with Hermangiosarcoma back in September.  We found out after she had emergency surgery on her abdomen.  The tumor had been sent out to the lab and came back positive for the aggressive cancer.  There is currently no cure for this disease, and we were fortunate enough to enjoy another month and a half with her.  I was just so thankful she didn't pass away while I was delivering Pea #4...she waited until I came home.
 
 
Little Miss Sloane, our 4th and final Pea, was born on October 4th.  She's really been a wonderful baby, and the other Peas are completely in love with her.  I was so nervous about adding another Pea to our family, since we were already outnumbered...but she fits right in! 
 
So, now that the New Year has started, I have also started getting back into the swing of things.  Cookie baking has commenced, and I have also made a promise to myself to keep up with my blogging.  Over the winter break, I started experimenting with some new cookie flavors and ideas.  My next post will cover those yummy cookies!
 
On a side note, I will be keeping my "Three Peas and a Dog" name for a bit (we plan on adding a furry friend to our family later on in the year), but I will eventually change it to add in that fourth addition.